Creating a site with login function with Laravel with XAMPP (2/4) activating authentication function
Aug 25, 2020
PHP
MySQL
xampp
Laravel
Windows10
Target
Enable Laravel authentication function
Previous article
Laravel Basic Learning with XAMPP
- Settings and activation of each application are described in this article, so if you have any questions, please use this article.
Enable authentication function
Creating a Laravel project
Create a new Laravel project using the Laravel installer. Open a terminal and run the following command.
$ laravel new project (project name)
After the installation is complete, start the built-in server and check if it works.
$ php artisan serve
http://127.0.0.1:8000/
Database settings
Connect to database
If you can confirm that Laravel has been installed without any problems, start XAMPP and create the database for this project.
Open (project name)\.env and enter the information to connect this project to MySQL.
DB_CONNECTION=mysql
DB_HOST=
DB_PORT=
DB_DATABASE=
DB_USERNAME=
DB_PASSWORD=
Migration (table creation)
This time, create a table and its columns by using migration which is a function of Laravel.
Perform migration using the existing (project name)\database\migratios\2014_10_12_000000_create_users_table.php.
The pre-change (project name)\database\migratios\2014_10_12_000000_create_users_table.php has the following contents.
public function up()
    {
        Schema::create('users', function (Blueprint $table) {
            $table->id();
            $table->string('name');
            $table->string('email')->unique();
            $table->timestamp('email_verified_at')->nullable();
            $table->string('password');
            $table->rememberToken();
            $table->timestamps();
        });
    }
Last article I will explain three codes that I could not touch.
$table->string('email')->unique();is a setting that the same data value is not stored in the same table. Don’t forget that you need to createunique:(table name)for validation as well as setting it in migration.$table->timestamp('email_verified_at')->nullable();defines that a confirmation email will be sent to the email address when registering.$table->rememberToken();is a column used when enabling the function such as “record user ID” on the login screen.
Since this is a work in the local environment, delete the above two out of the three to make the column names easier to understand. Specifically, change the code as follows.
public function up()
    {
        Schema::create('users', function (Blueprint $table) {
            $table->id();
            $table->string('name')->unique();
            $table->string('email')->unique();
            $table->string('password');
            $table->rememberToken();
            $ Table-> text ( 'comment') -> default ( 'Hello!');
            $table->timestamps();
            $table->boolean('delete_flag')->default(false);
        });
    }
Column settings of the users table created with the above contents are as follows.
| Column name | Setting |
|---|---|
| id | AUTO_INCREMENTS |
| name | string |
| string | |
| password | |
| remenber_token | string |
| comment | text |
| create_at | timestamp |
| update_at | timsestamp |
| delete_flag | boolean |
Open terminal and execute migration with the following command to create the users table.
$ php artisan migrate
After the migration is complete, check the users table in phpMyAdmin to see if it has the columns and settings you want.
Laravel has a function to insert data into a table called seeding, but it is not used this time because you cannot log in unless you register it via the authentication function.
Validation
To enable the validation set during migration, edit RegisterController.php in (project name)\app\Http\Controllers\Auth.
 protected function validator(array $data)
    {
        return Validator::make($data, [
            'name' => ['required','string','max:255','unique:users'],
            'email' => ['required','string','email','max:255','unique:users'],
            'password' => ['required','string','min:8','confirmed'],
        ]);
    }
If you set unique in the migration, don’t forget that this file also needs to be set with unique:(table name).
Authentication function
Enable authentication function
If you read the official document of Laravel, there is a description about authentication function activation, so follow it.
First, execute the following command in the terminal to install the code and files required to enable the authentication function.
$ composer require laravel/ui
$ php artisan ui vue --auth
$ npm install
$ npm run dev
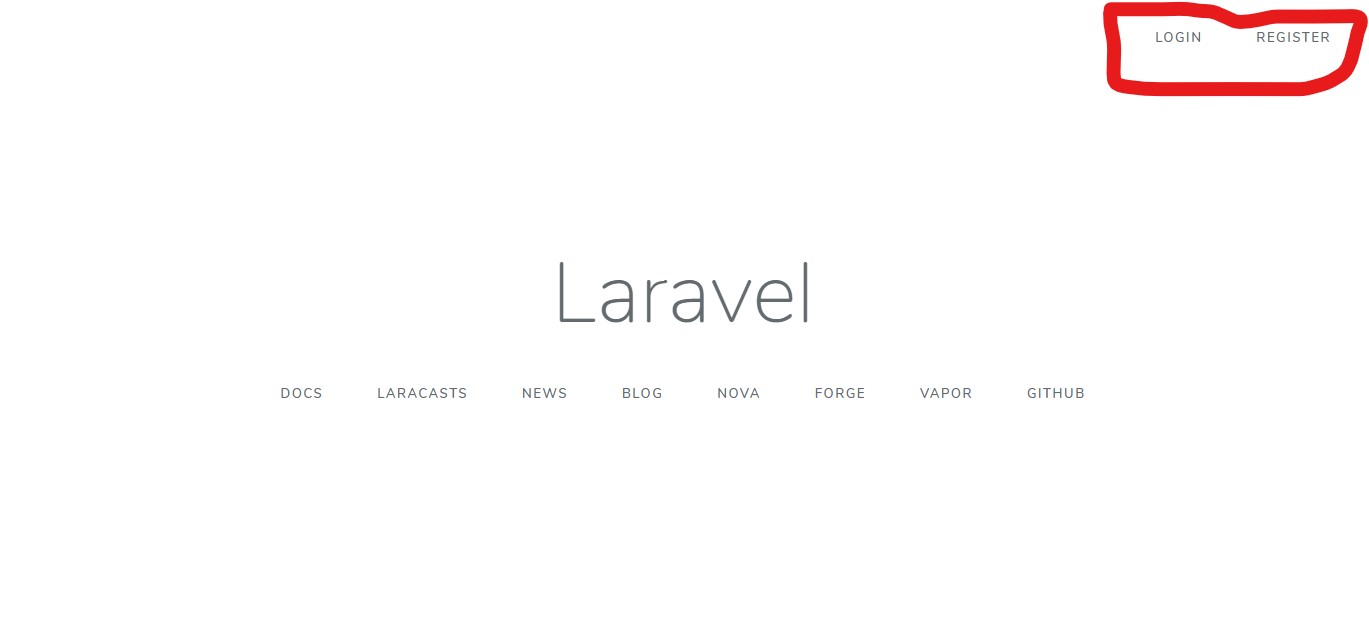
When the above command processing is completed and the server is started and http://127.0.0.1:8000/ is opened, LOGIN and REGISTER (registration screen) are created and the authentication function is enabled. You can confirm that it was done.
User registration and login
Now, let’s actually use the authentication function.
Click the REGISTER created in the upper right corner to open the Registration screen.
Then, enter the user information to be registered in each item.

When the input is completed, it transits to Home screen.

If you open phpMyAdmin and check the user data you created this time, you can see that the password is encrypted so that the administrator cannot understand it.

This confirmed that the authentication function was enabled.
Next articleThis time, in the project of Laravel, I enabled the authentication function.
In the next article, we will create a page that allows you to change user information for this project.